
Home
|
Zound Mutator for UT2004 Original Tutorial designed by Crafty - craftybarnardo@halflifemapping.com |
| This tutorial details the actions
required to install the Zound mutator, version 5.0 and upwards, for UT2004 servers.
This tutorial assumes that you already have wav files created for the
sounds you wish to use. We will begin with creating the sound packages and
then follow up with the actual server ini file changes required to load
Zound. This tutorial also assumes that you have the actual UT2K4 game
installed and that UnrealEd 3.0 is installed on the machine you will be
creating the files from.
NOTE: This tutorial does NOT cover wav file creation or editing. There are far too many sound editing applications out there to detail instructions for them all. For best results from the user download perspective, the wav files need to be no higher than 22KHz, 8-bit, mono in format. So, let us begin the tutorial. Before beginning the package(s), it would be wise to have a directory with all your custom sounds inside the UT2004\Sounds directory with which to work from. (I called mine utsounds, but you can use whatever name you wish as long as you do NOT have spaces in the folder name.) Also, Zound looks for two preset triggers, "PlayerEnter"
and "PlayerExit" when it is running. The sound associated
with "PlayerEnter" is played whenever a player connects to the server. The sound
associated with "PlayerExit" plays when a player leaves the server. If you
want these features, then make sure you name one of your sounds PlayerEnter and
the other PlayerExit.
1) Open UnrealEd 3.0 by double-clicking the shortcut placed on your desktop during the default install of UT2K4. (If you do not see a shortcut for this, make one yourself. Browse to your UT2004\System directory and make a shortcut for UnrealEd.exe on your desktop.)
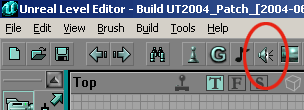
2) Click the speaker icon as shown below to bring up the Sound Browser. |
 |
|
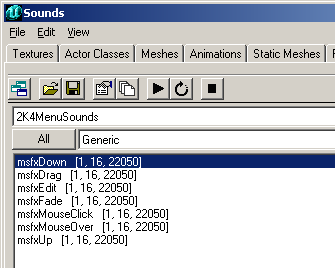
You should see a screen similar to the one shown below. You will notice a sound package already open. This is normal, so you should not panic. |
 |
|
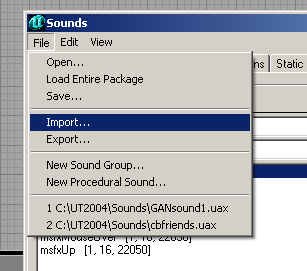
3) Click the File menu, then choose Import. |
 |
|
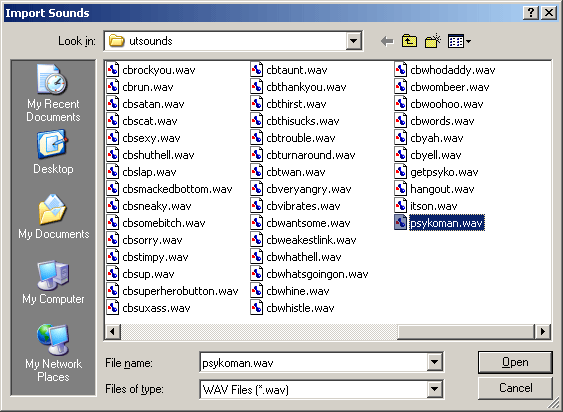
4) Browse to the folder you made inside the Sounds directory and choose one of your files. |
 |
|
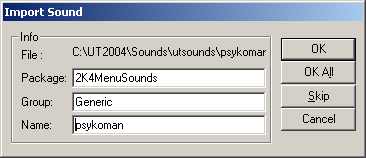
5) Click Open, and you should be presented with a screen similar to the one below. |
 |
|
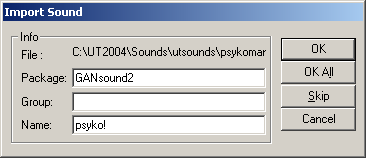
6) Change the package name to whatever you want to call your custom sound package.You will notice that I named my package here GANsound2. I already made GANsound1 to test this tutorial. Delete the text that was in the Group field, as this is not used. The filename you pick can be left as the wav name. |
 |
|
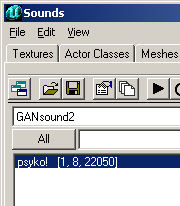
7) Click OK and you should see the following screen showing that your new package is open and contains the first file you just imported. |
 |
|
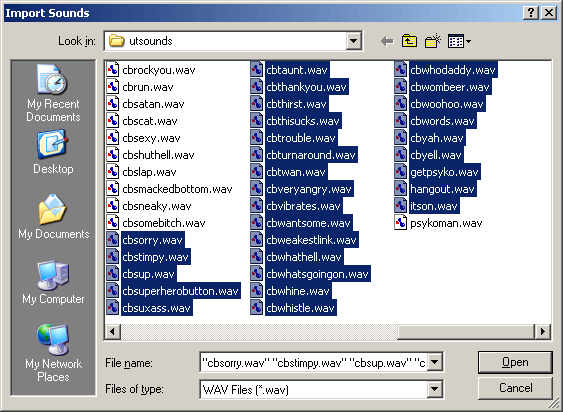
8) Click the File menu again, then choose Import and select the remaining files you wish to add to this package. |
 |
|
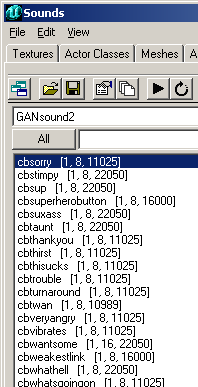
9) Click the Open button and then click OK All. After it imports the sounds, you should see a screen like the one below. Notice that the names in the shot below are the names of the actual wav files, not the triggers. |
 |
|
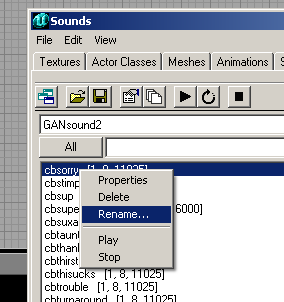
10) Now we may go through our package one name at a time and rename the files in the package to the soundname we wish to setup for them. NOTE: You can play the sounds at anytime in this browser by left-clicking on the file, or pressing the play button. Right-click the first sound you wish to rename, and choose Rename from the menu. |
 |
|
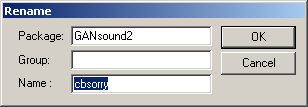
11) This is the screen that showed up in my package showing the name of the wav file. |
 |
|
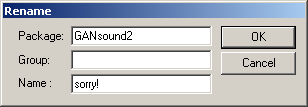
12) Change the name to the soundname you want to use. This is not very important in this version, as the soundname is independant of the Triggername. (See ini editing section 2) But they can be renamed to make them shorter or easier to remember what they are. NOTE: The soundnames are not allowed to have spaces between the words, but punctuation is allowed. Example, "so sorry!" is not acceptable because it has the space between so and sorry, but "sosorry!" or "so_sorry!" are acceptable. |
 |
|
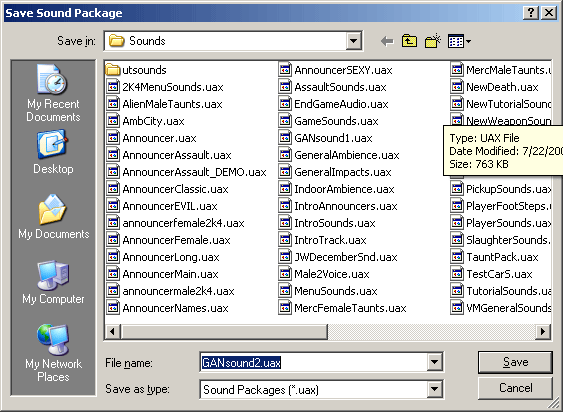
13) When you have renamed all the files to their soundnames, click the Save package button and save the file to the UT2004\Sounds folder. Click Save. |
 |